I recently settled on the Canon EOS R instead of the Canon 5DMkIV as an upgrade to my trusty yet aging 5DMkIII and so far I like it. It’s not my favorite camera but it’s cheaper than the 5DMkIV and for what I do it’s more than enough camera for now for my personal projects. There are a few things I don’t like about the camera and a few things that are new that I do like. I don’t plan to review the camera here but so far it’s a tool that is relatively familiar and so far very capable.
Double Exposures with the Canon EOS R
The Good:
The EOS R has the EVF (electronic viewfinder) which makes lining up your multiple exposures very easy. You can now see the first image overlaid on the screen to line up your second shot with precision. In the past this was done by a mixture of skill, spacial awareness and luck (and often very patient subjects).
The rotating flip screen is actually a pro although I notice myself running around with it extended and rotated to get interesting angles and know that one day I’m going to trip and catch it on something and bust it off. It seems sturdy enough but I’m hoping I never have to test it. Better to have a friend test. Or better yet, an acquaintance.
That’s it, a lot of the options carried over from the 5DMkIII and 5DMkIV except for the menu…
The Bad
The way you used to access the creative features including multiple exposures was a cool creative button to the top left of the rear screen. It quickly got demoted to sub-menu 5, second from the bottom just above HDR Mode. Hopefully there are no further demotions.
The EVF. I’m not sure if this is also a bad but artistically it sort of feels like cheating. This is actually great for client work, when you need to perform but I think it kind of makes it too easy and kills the romance a bit. Maybe this isn’t a bad thing but something to embrace and push creativity with added precision…
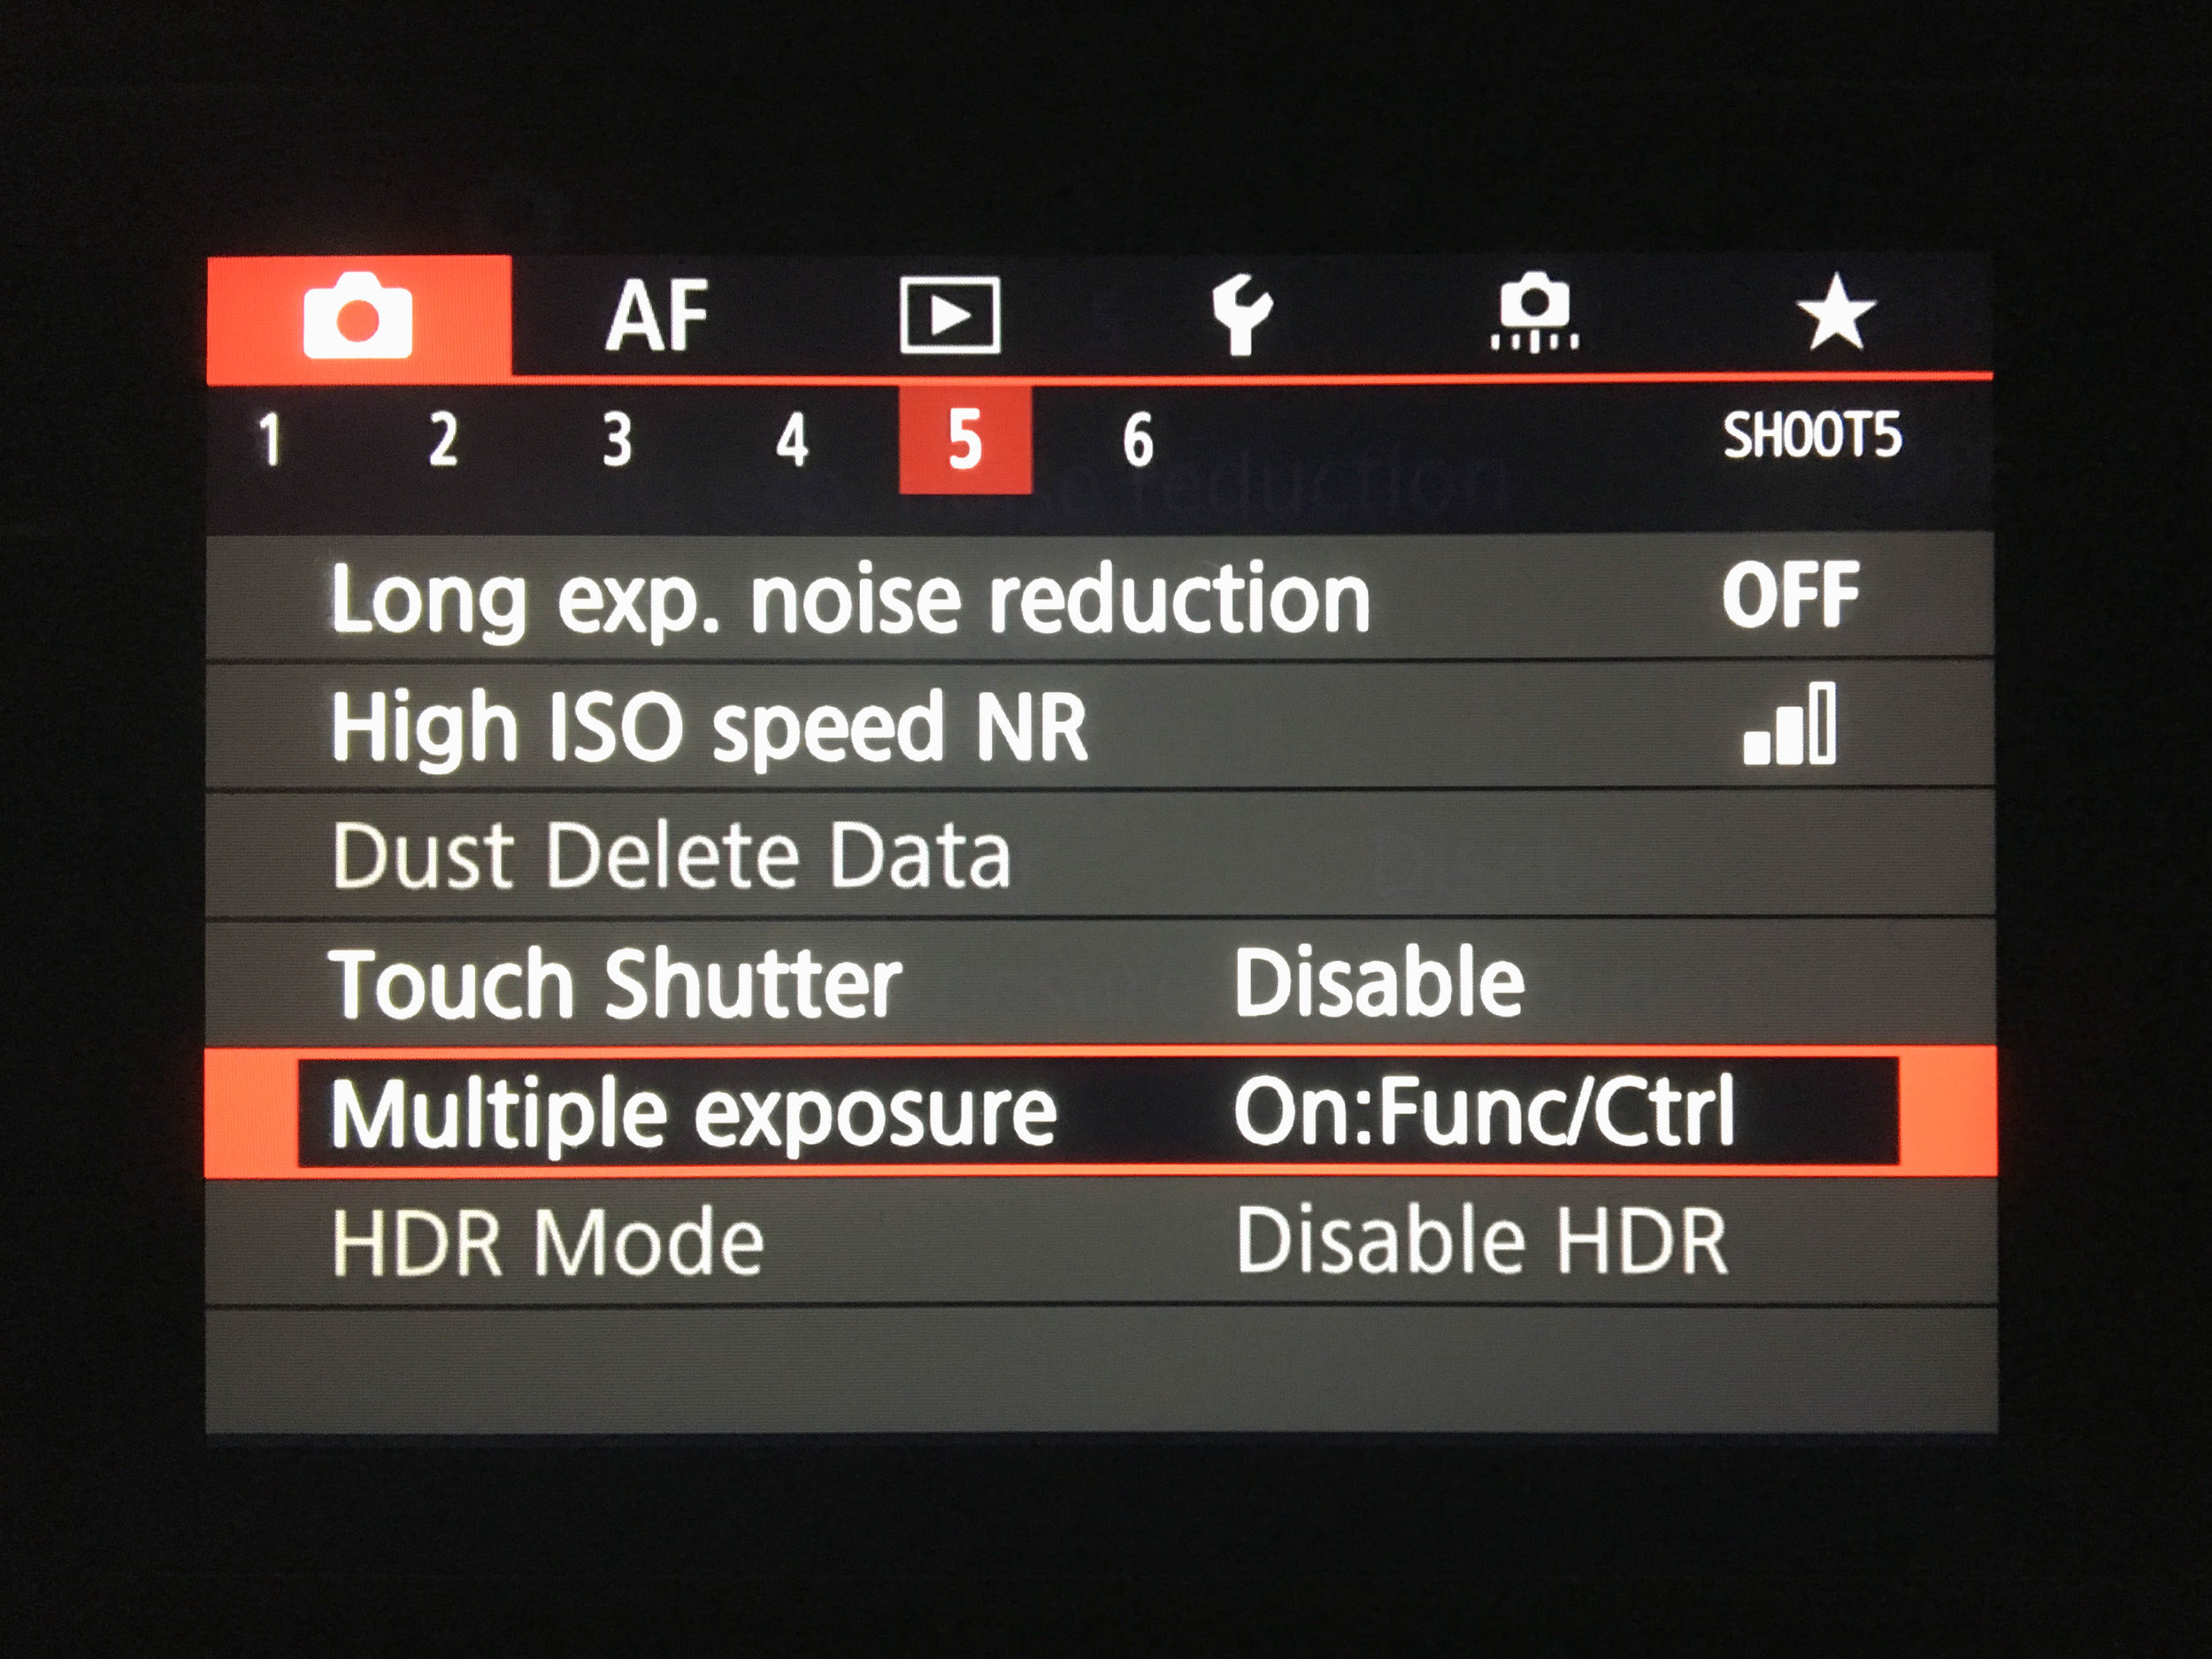
The new menu placement below. Demoted from a button on the back of the body to sub menu 5 just above HDR.
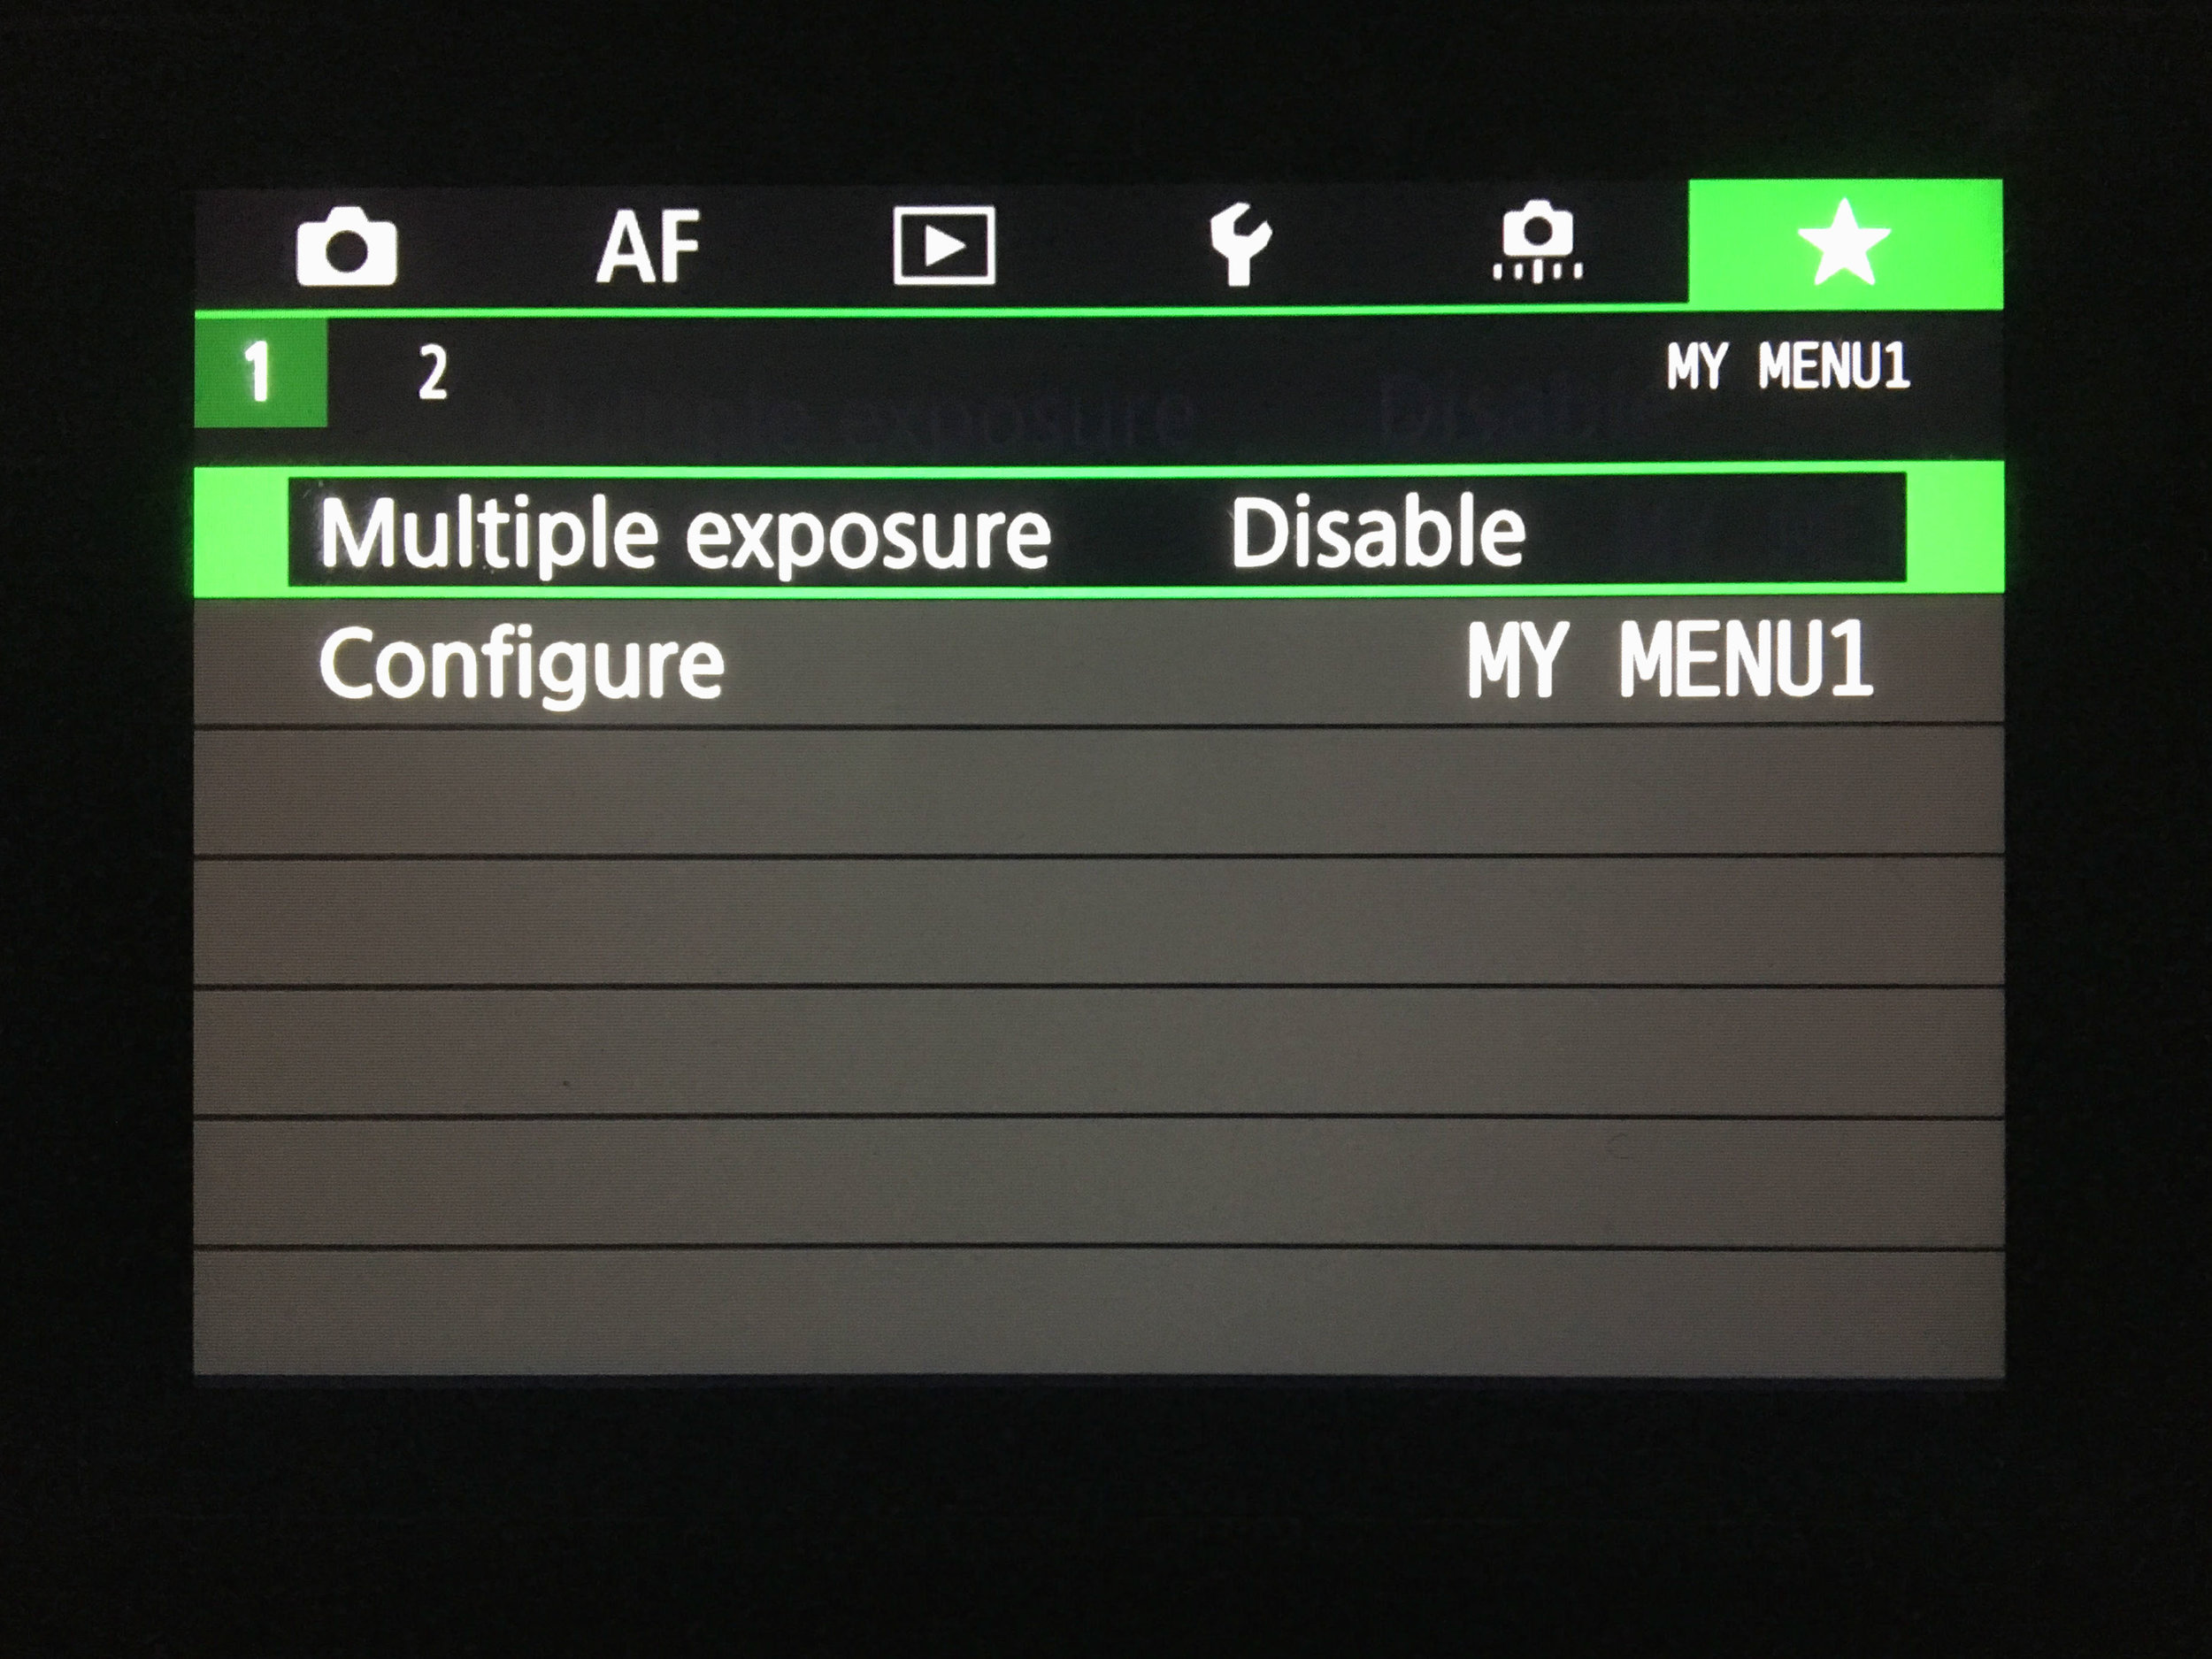
So it’s not all bad, you can set a custom menu item so you don’t have to dig so far in the menu so there’s that.
The Same
As far as creating multiple exposures, once you’re in the menu it all feels very familiar.

In Summary
I’ve only been shooting creatively with this camera for a few weeks and so far it’s worked great for landscapes, portraits and creative photography. It’s not my favorite camera of all time but after a lot of research I decided to upgrade my aging 5DMkIII to the EOS R instead of the 5DMkIV and used the trade in value on my old body to effectively rationalize purchasing the EOS R and a Sony A7III to compliment what the EOS R is lacking. With the Metabones adapter I now have two bodies that can share the same glass with different strengths for non commercial work for just over the price of the 5DMkIV. It’s a compromise but a decent one in the end.
Sample Images of Canon EOS R In Camera Double Exposures.
The images below are from a mini project I created on a recent family vacation in the Tennessee mountains. This is what ultimately sold me on the EOS R. Double Exposure portraits for me are the ultimate challenge for a myself in operating a camera as they bring together landscape, portraiture, lighting, personal direction and story-telling/narrative. The experience I had with the EOS R was very nice. It was familiar as the 5DMkIII but the images were cleaner and the touch screen and fold out screen was actually nice to be able to operate during the portraits of my son so I could keep eye contact and touch the screen on the focus point in my periphery. I’ve included below the out of camera images and the edited version to get a better example of what you can expect.
Image 1

Image 1 - Original image - out of camera

Image 1 - Edited Image (No Photoshop, adjusting curves cleanup the image quickly. All editing done in Lightroom.)
Image 2
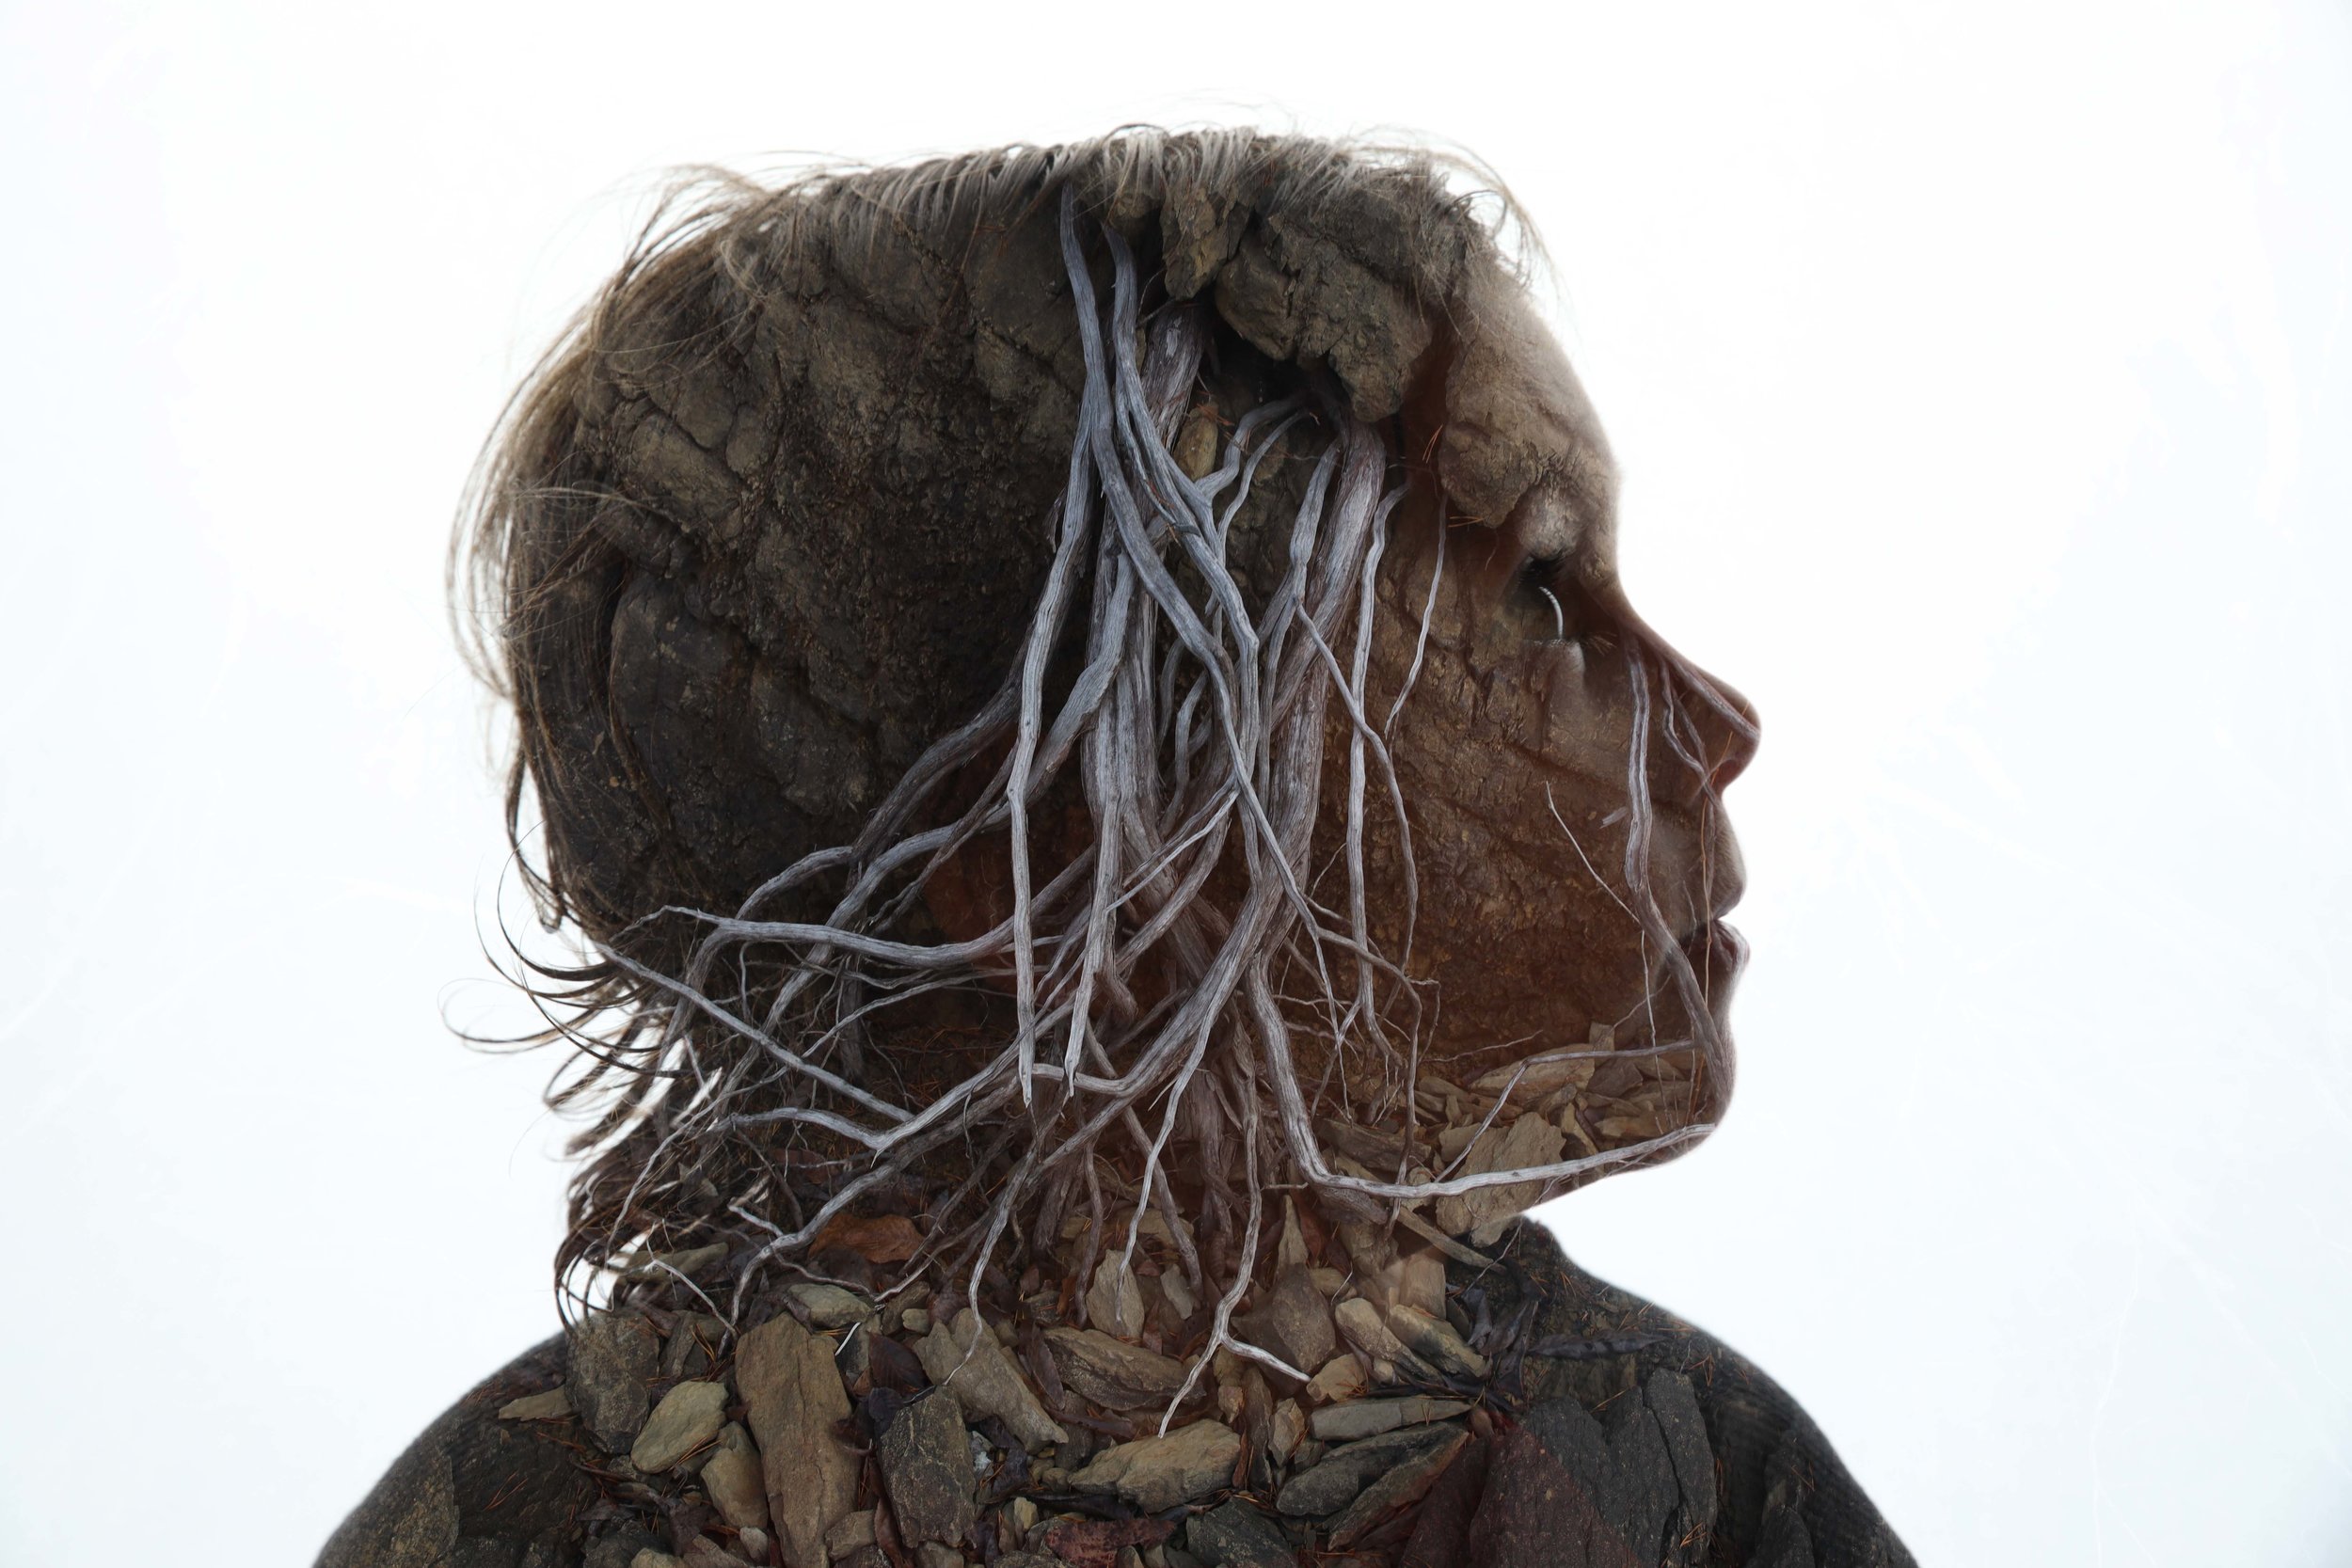
Image 2 - Original image - out of camera
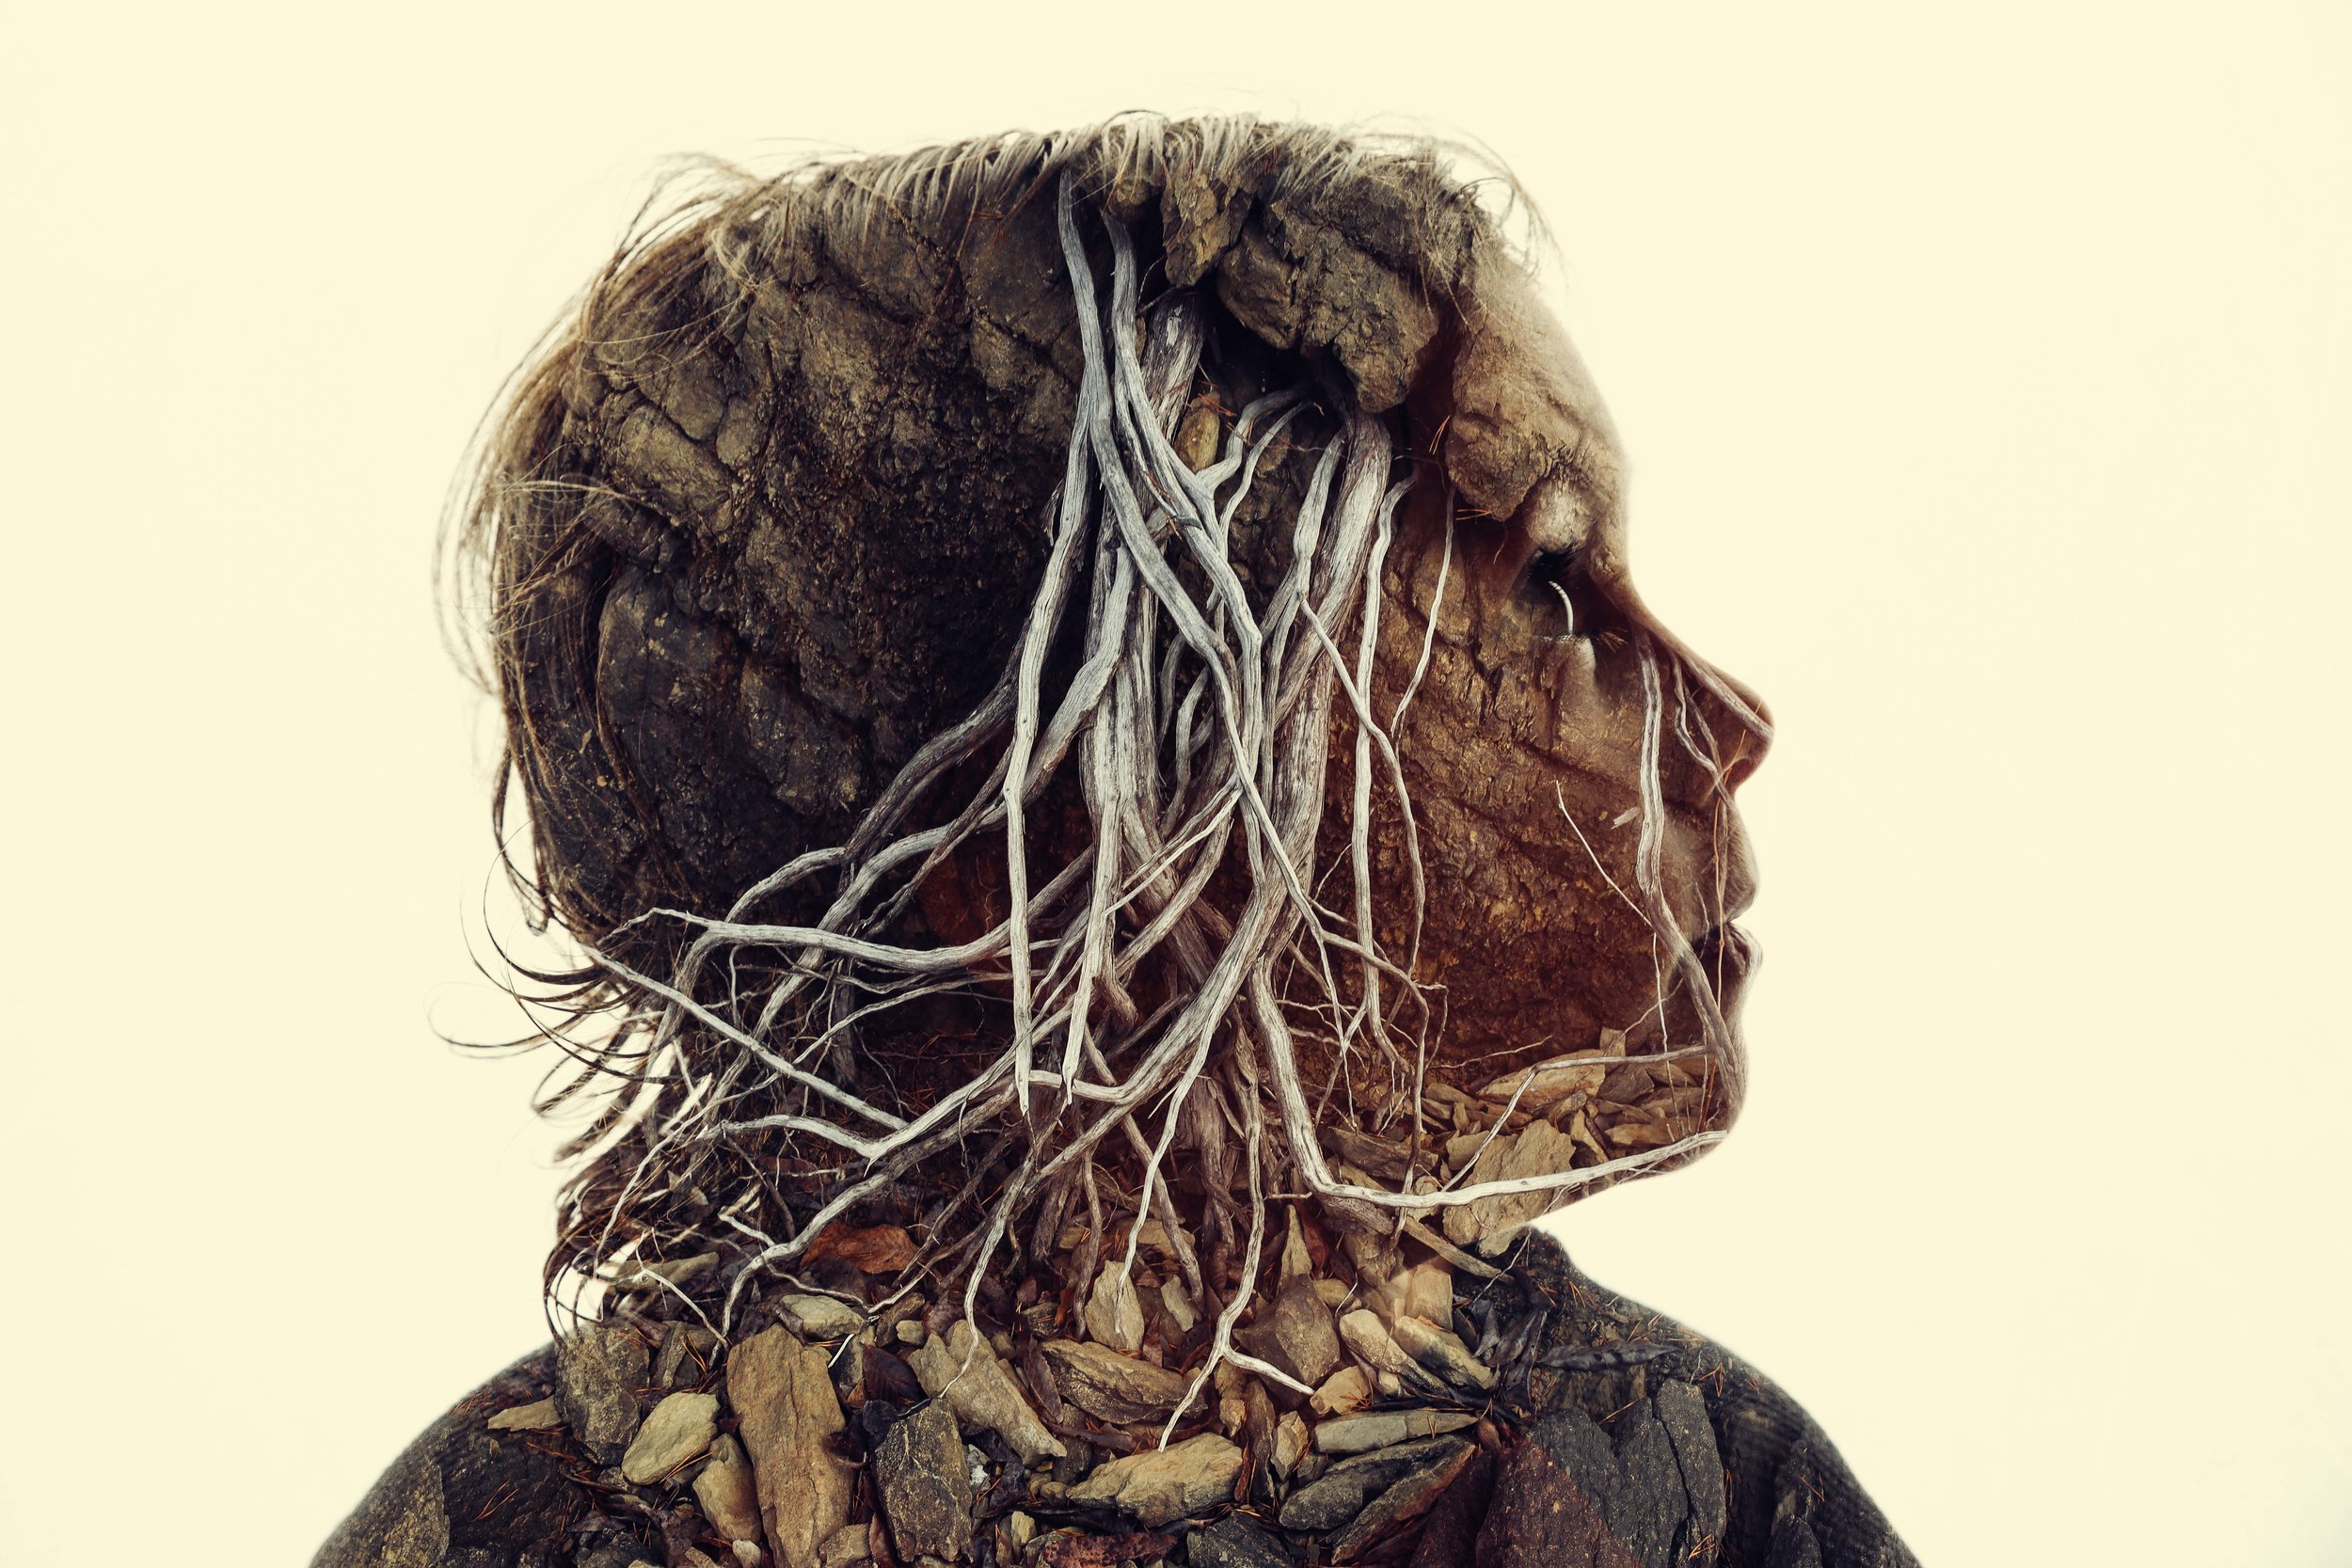
Image 2- Edited Image (No Photoshop, adjusting curves cleanup the image quickly. All editing done in Lightroom.)
Image 3

Image 3 - Original image - out of camera

Image 3- Edited Image (No Photoshop, adjusting curves cleanup the image quickly. All editing done in Lightroom.)
Image 4
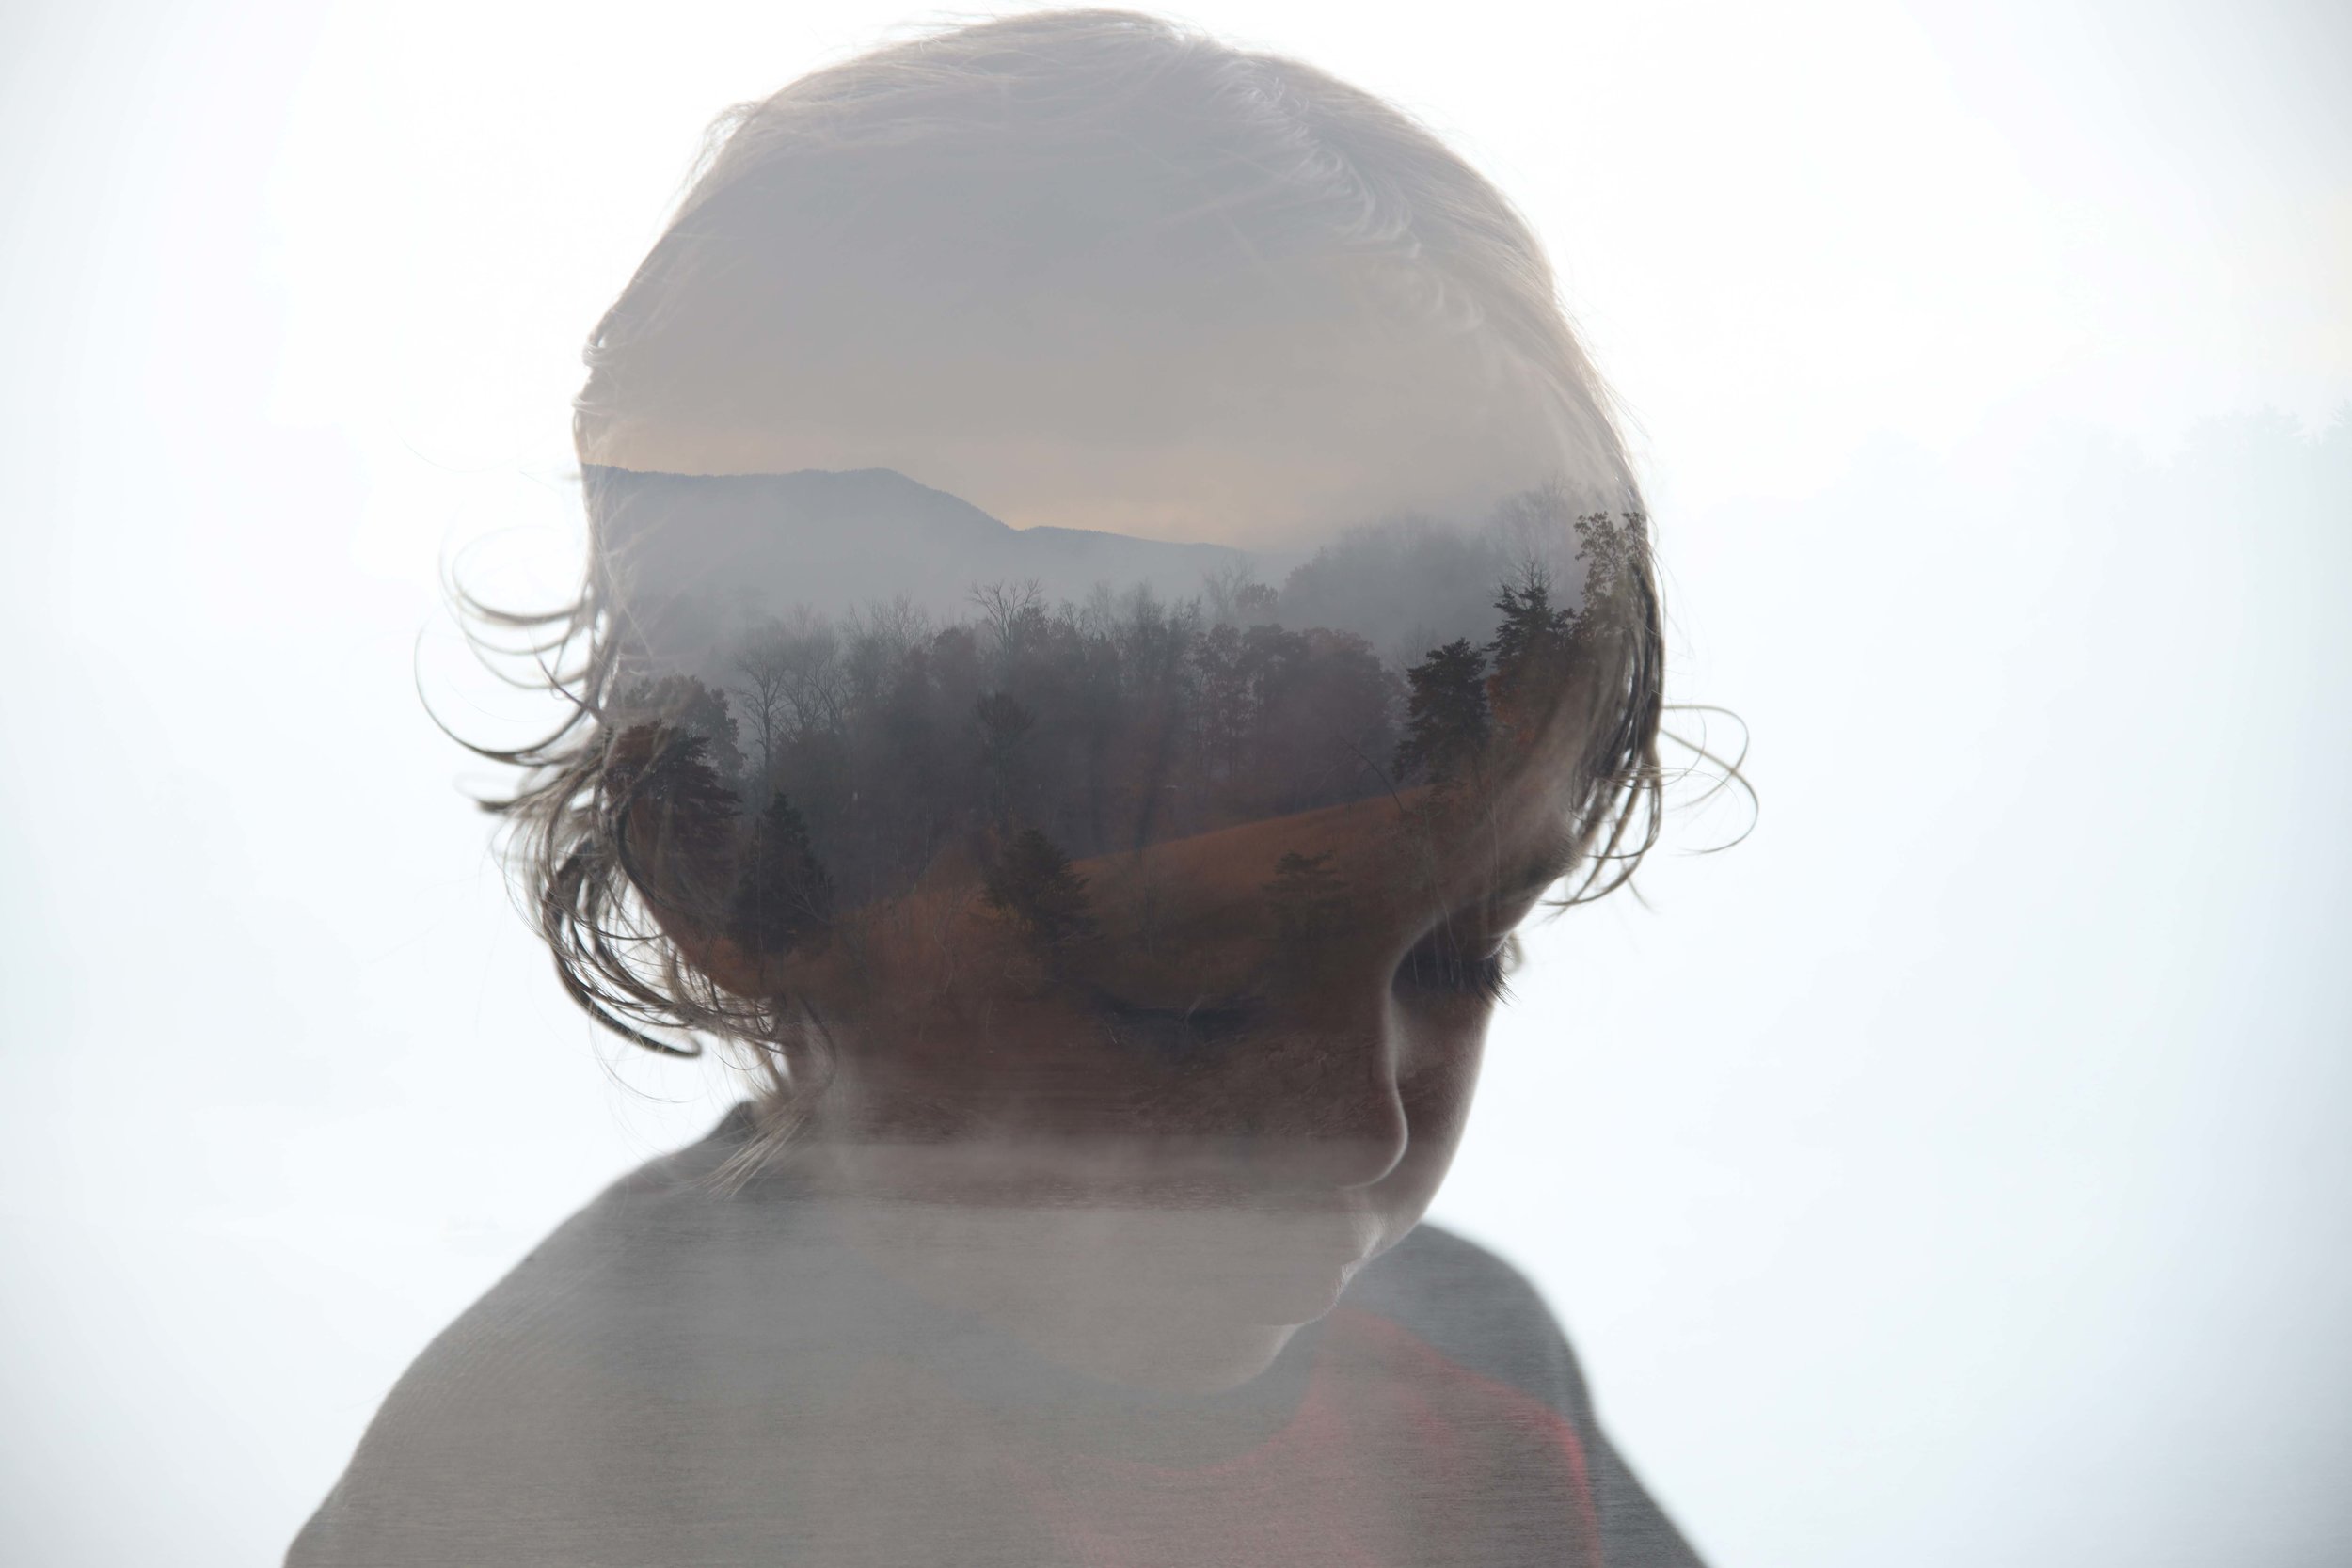
Image 4 - Original image - out of camera

Image 4- Edited Image (No Photoshop, adjusting curves cleanup the image quickly. All editing done in Lightroom.)
Thank you for reading. Please comment below with any experiences you’d like to share, comments, feedback or anything else. Cheers!